
While editing your videos in Final Cut Pro, you may sometimes feel the need to remove the background or make changes to the objects in the background. Well, it’s an easy process, provided that you do it right. To help you, here’s a guide discussing ways to remove background from your FCP project.
Remove Background in Final Cut Pro With Scene Removal Mask
Scene Removal Mask is an inbuilt Final Cut Pro Windows and Mac effect that allows users to remove the background from the clip by isolating the foreground item (subject, whose background you want to remove) and replacing the background without using a green screen.
To get the best result from this effect, you need to ensure the following while shooting your video.
- The background should be static and the video should be shot with a static camera.
- The video should be shot in a bright and evenly lit environment.
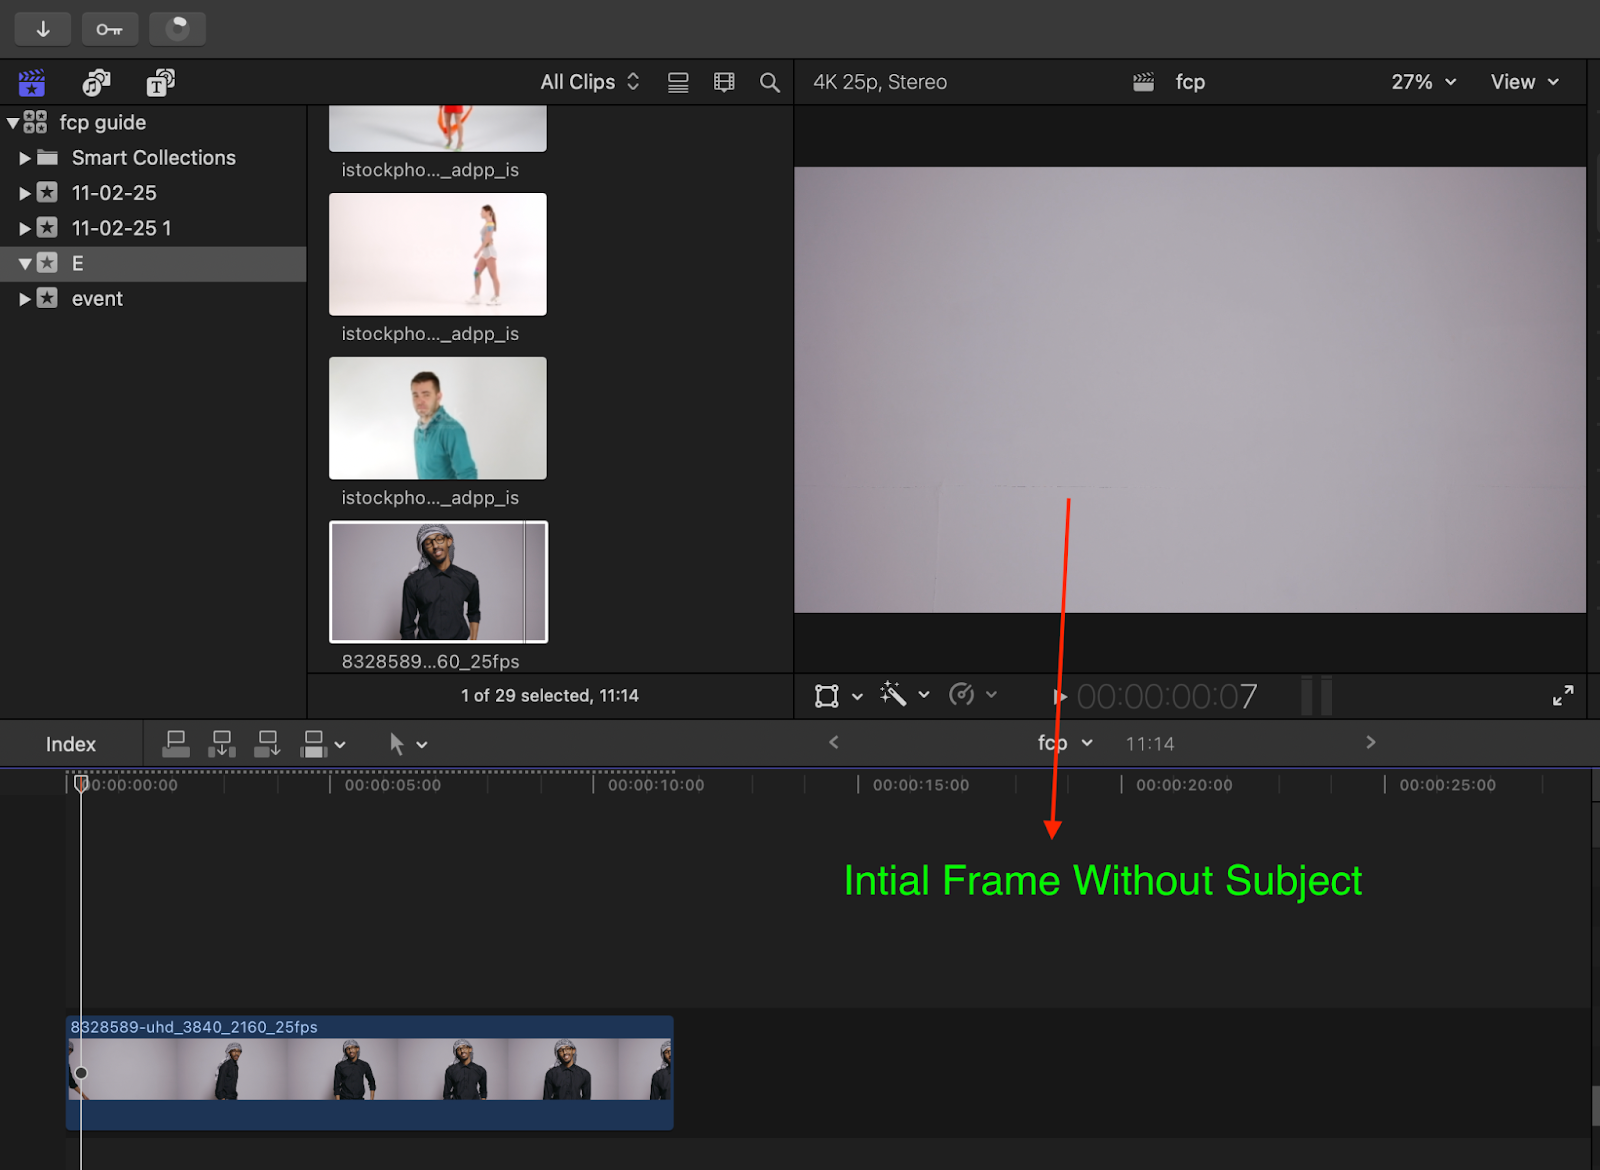
- Video clips should have extra frames at the end or starting without a subject for the reference of the background for FCP to analyze.
- The background should be simple without too many objects in it.
- There should be a contrast between the background and subject.
To use Scene Removal Mask follow the given steps.
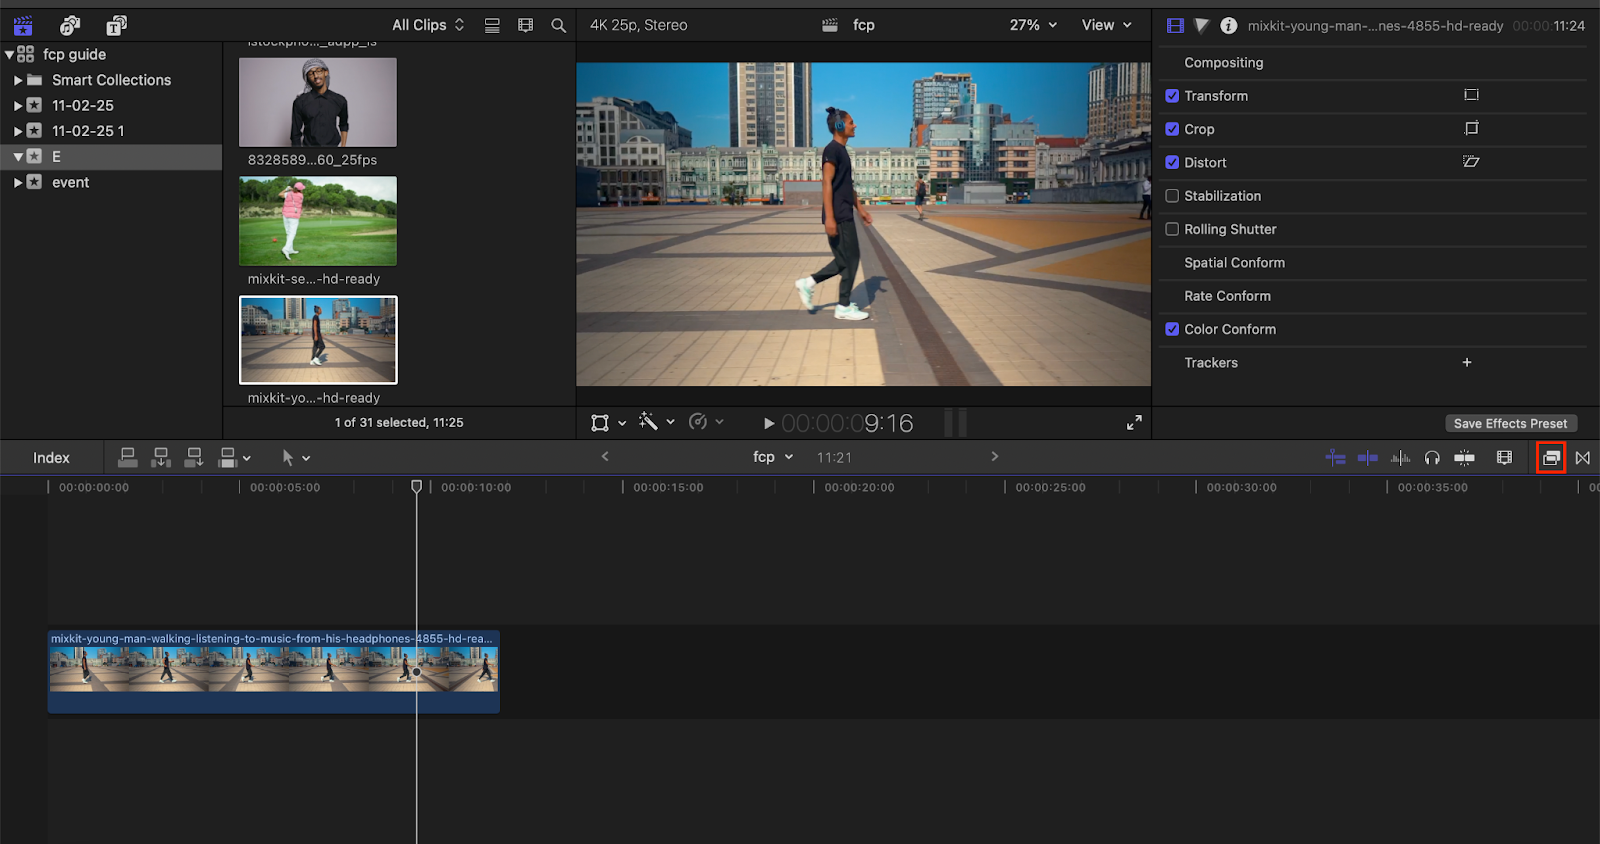
- Drag your video clip to the primary timeline, from which you want to remove the background.
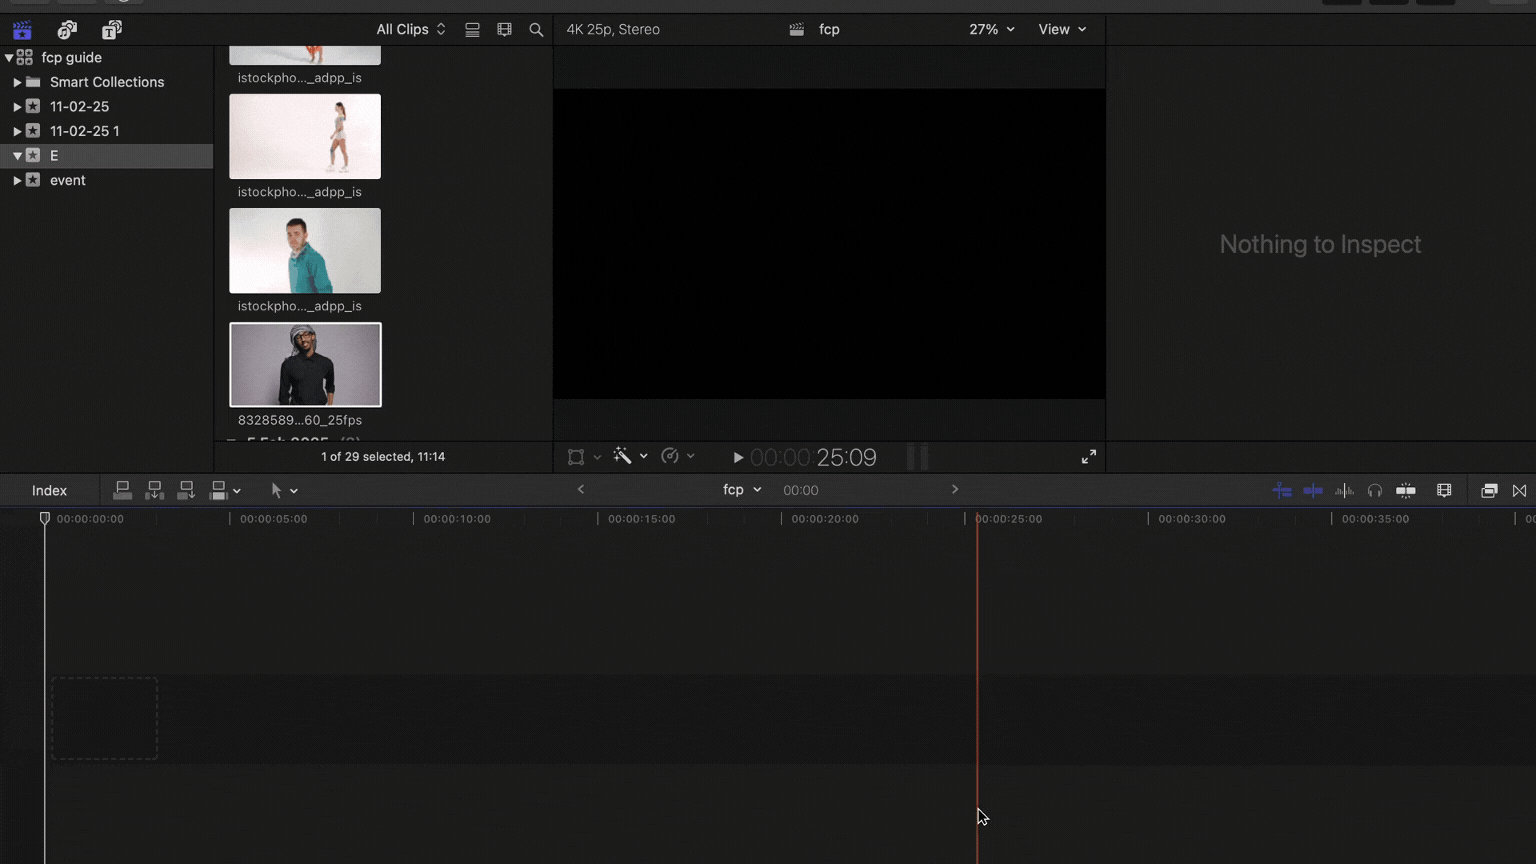
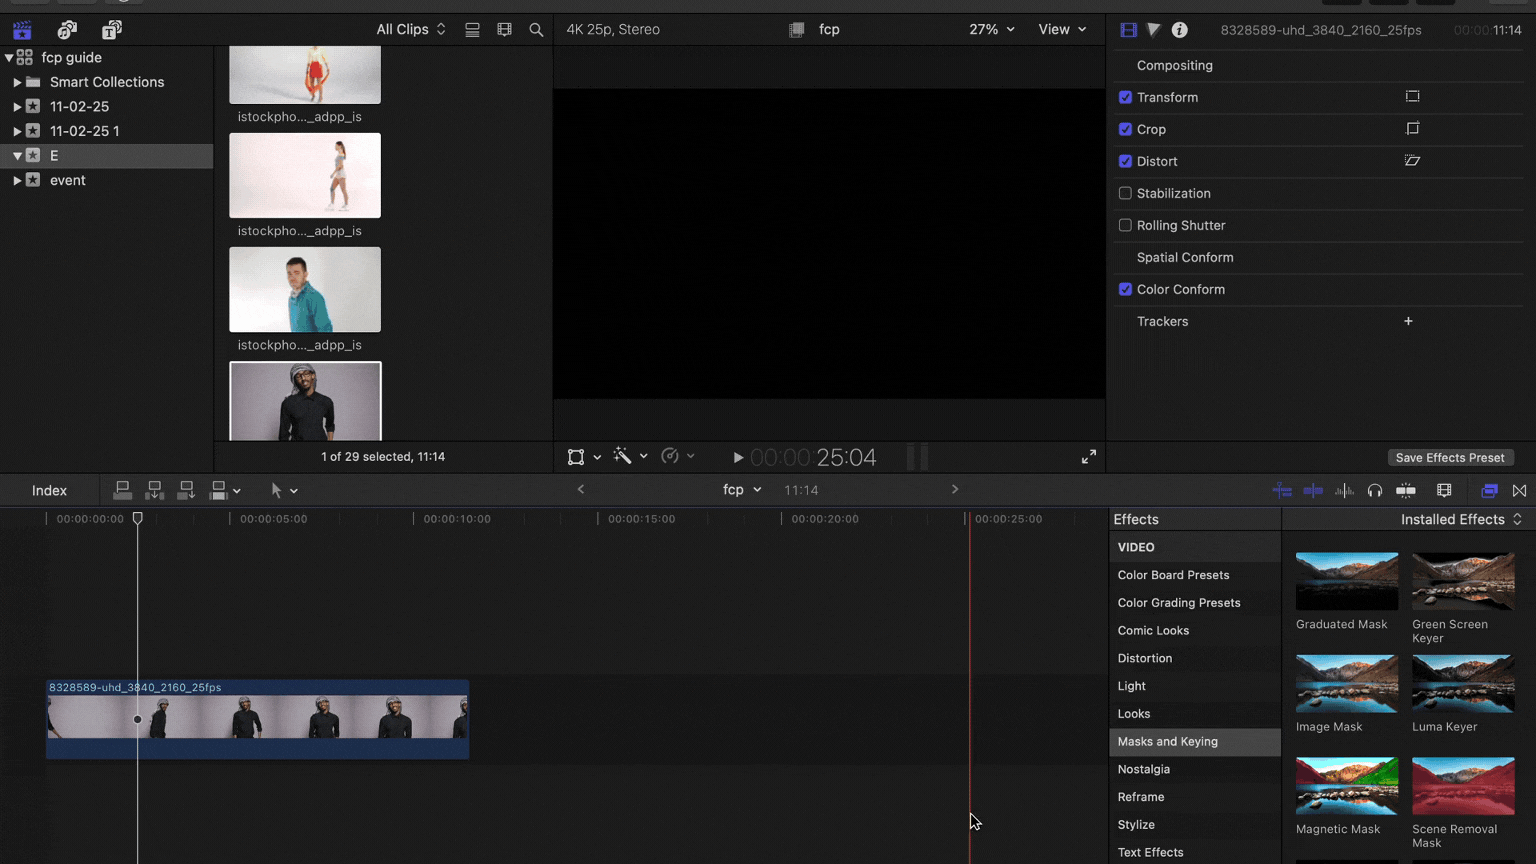
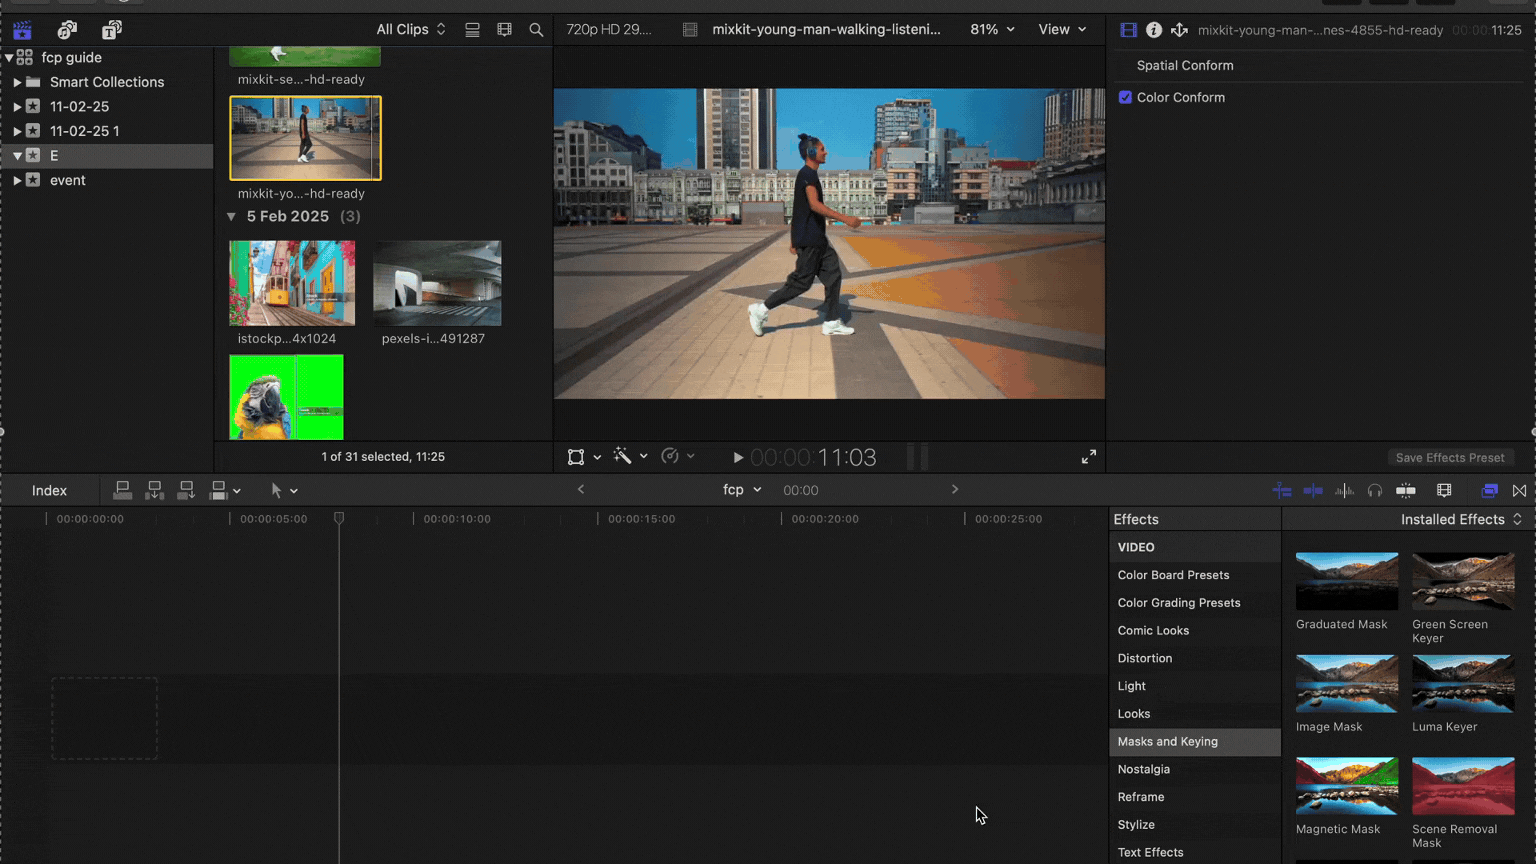
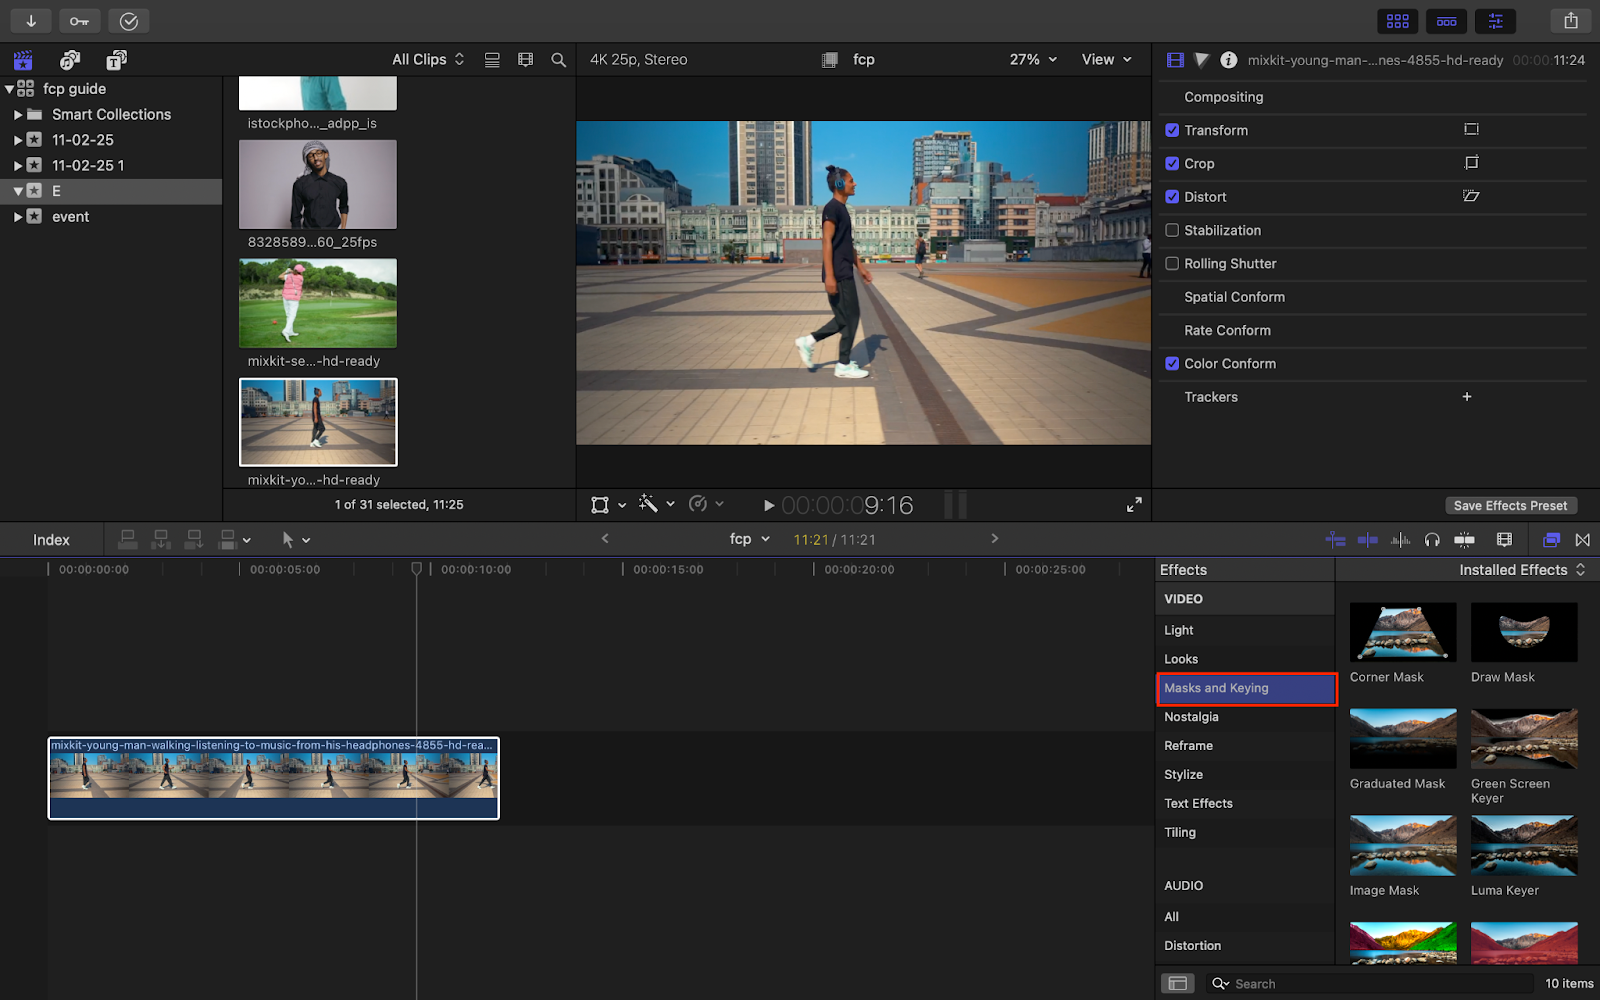
- Open the “Effects Browser.”
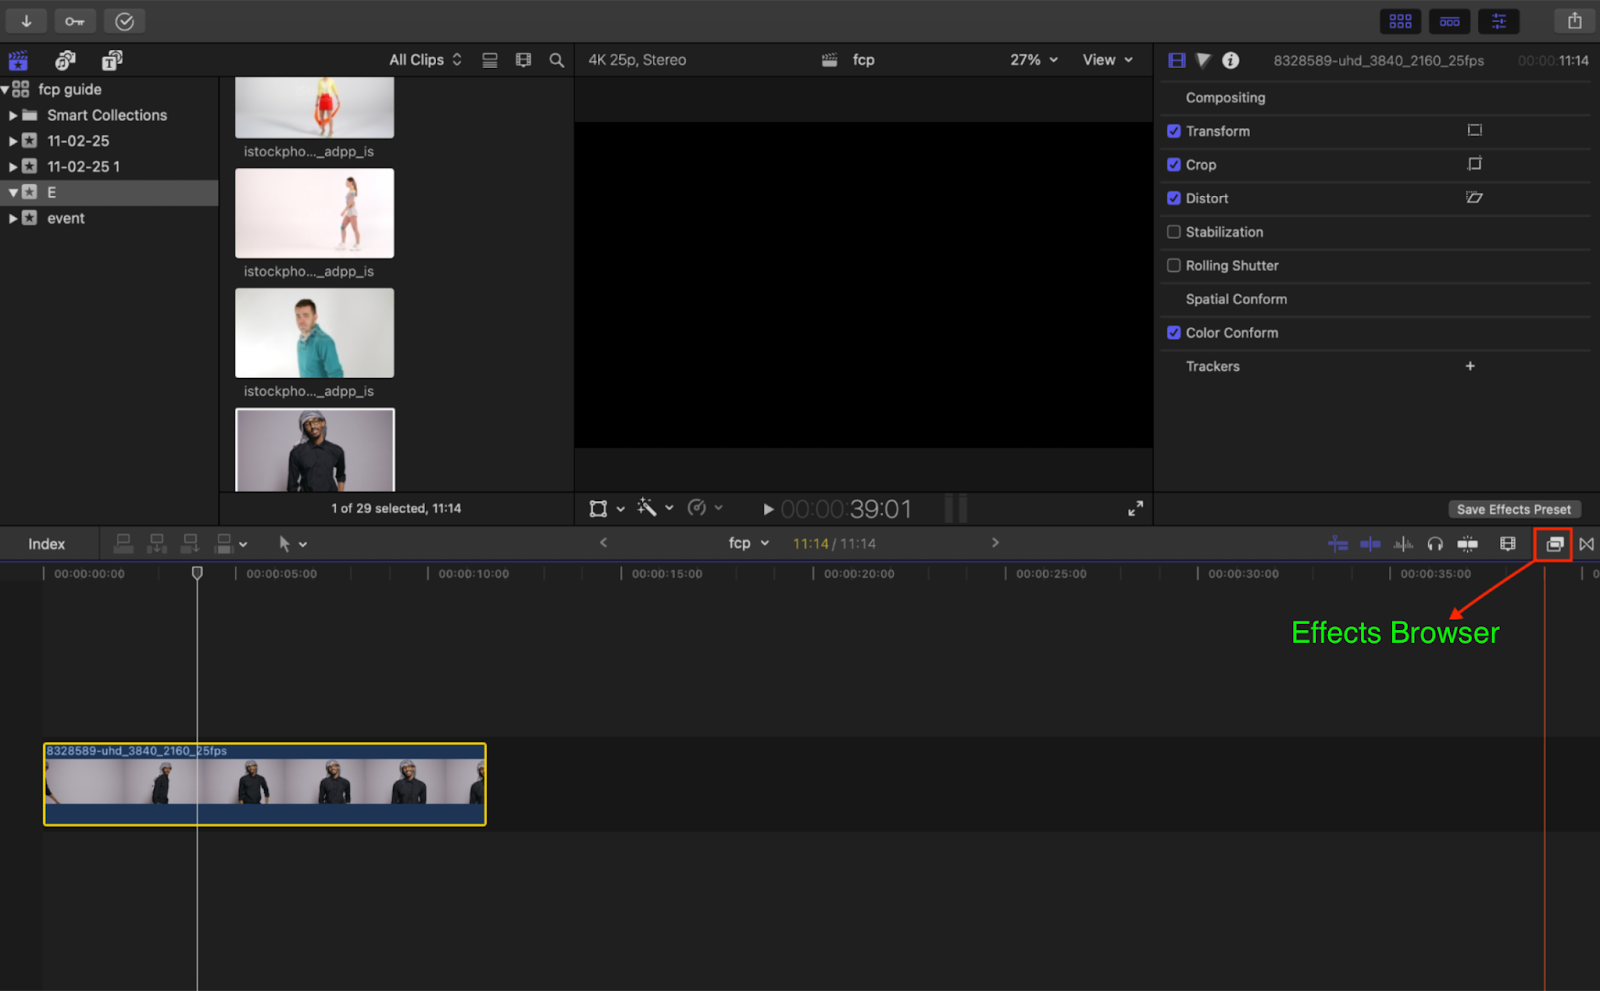
- Go to “Mask and Keying.”
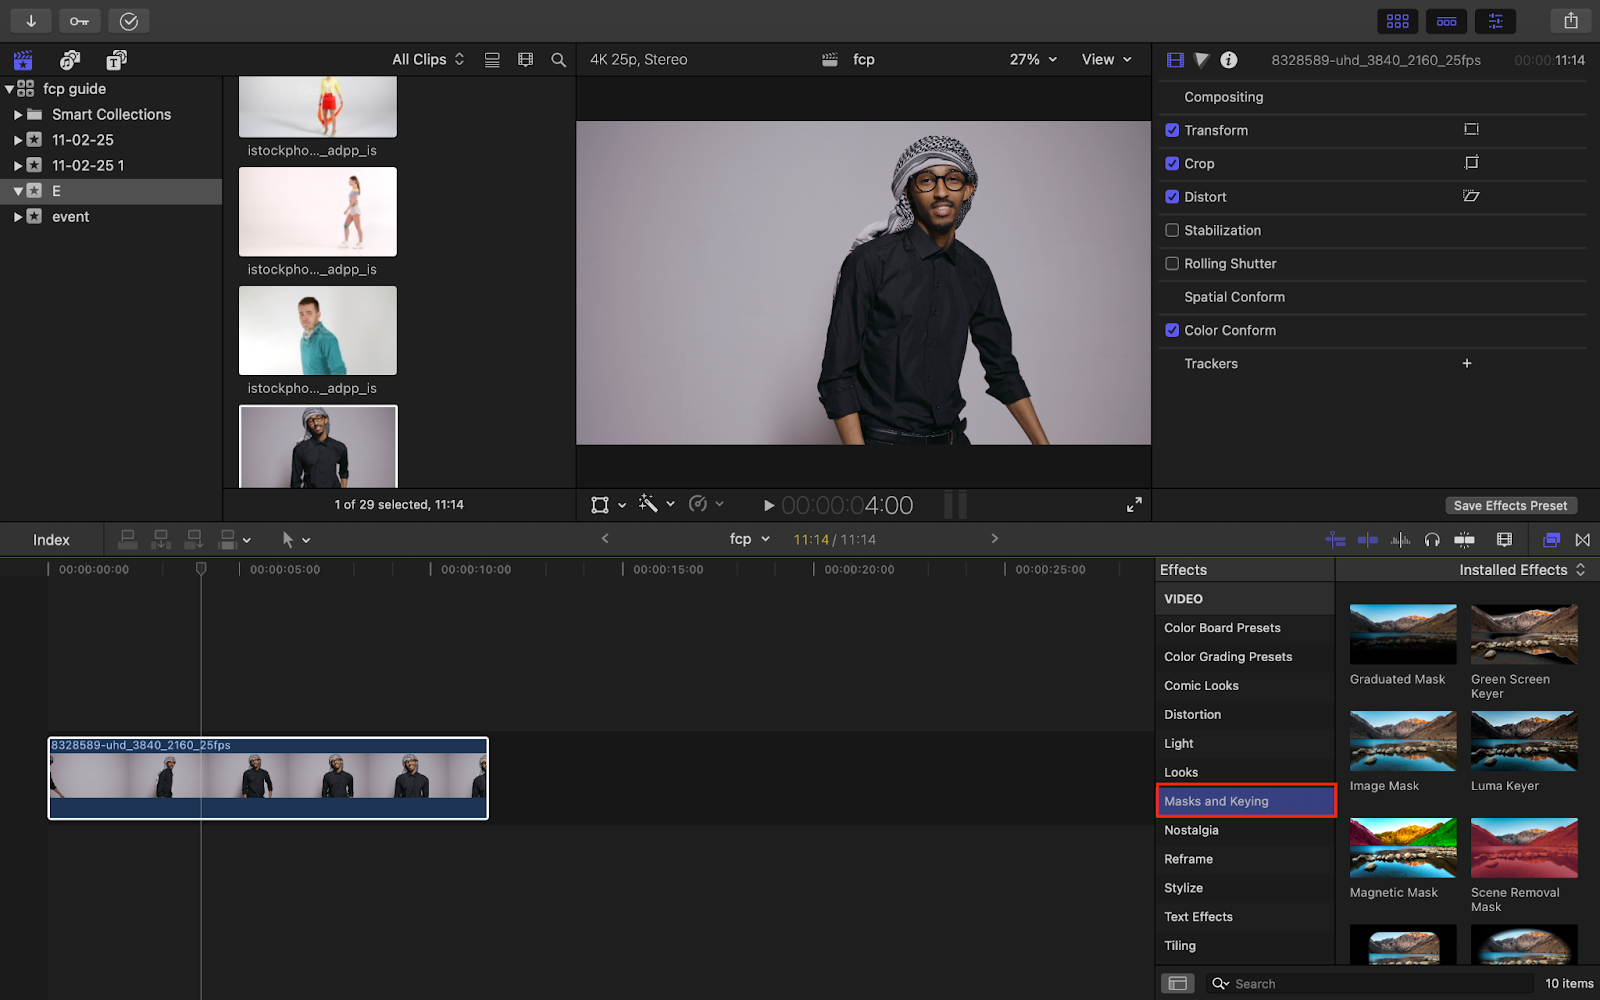
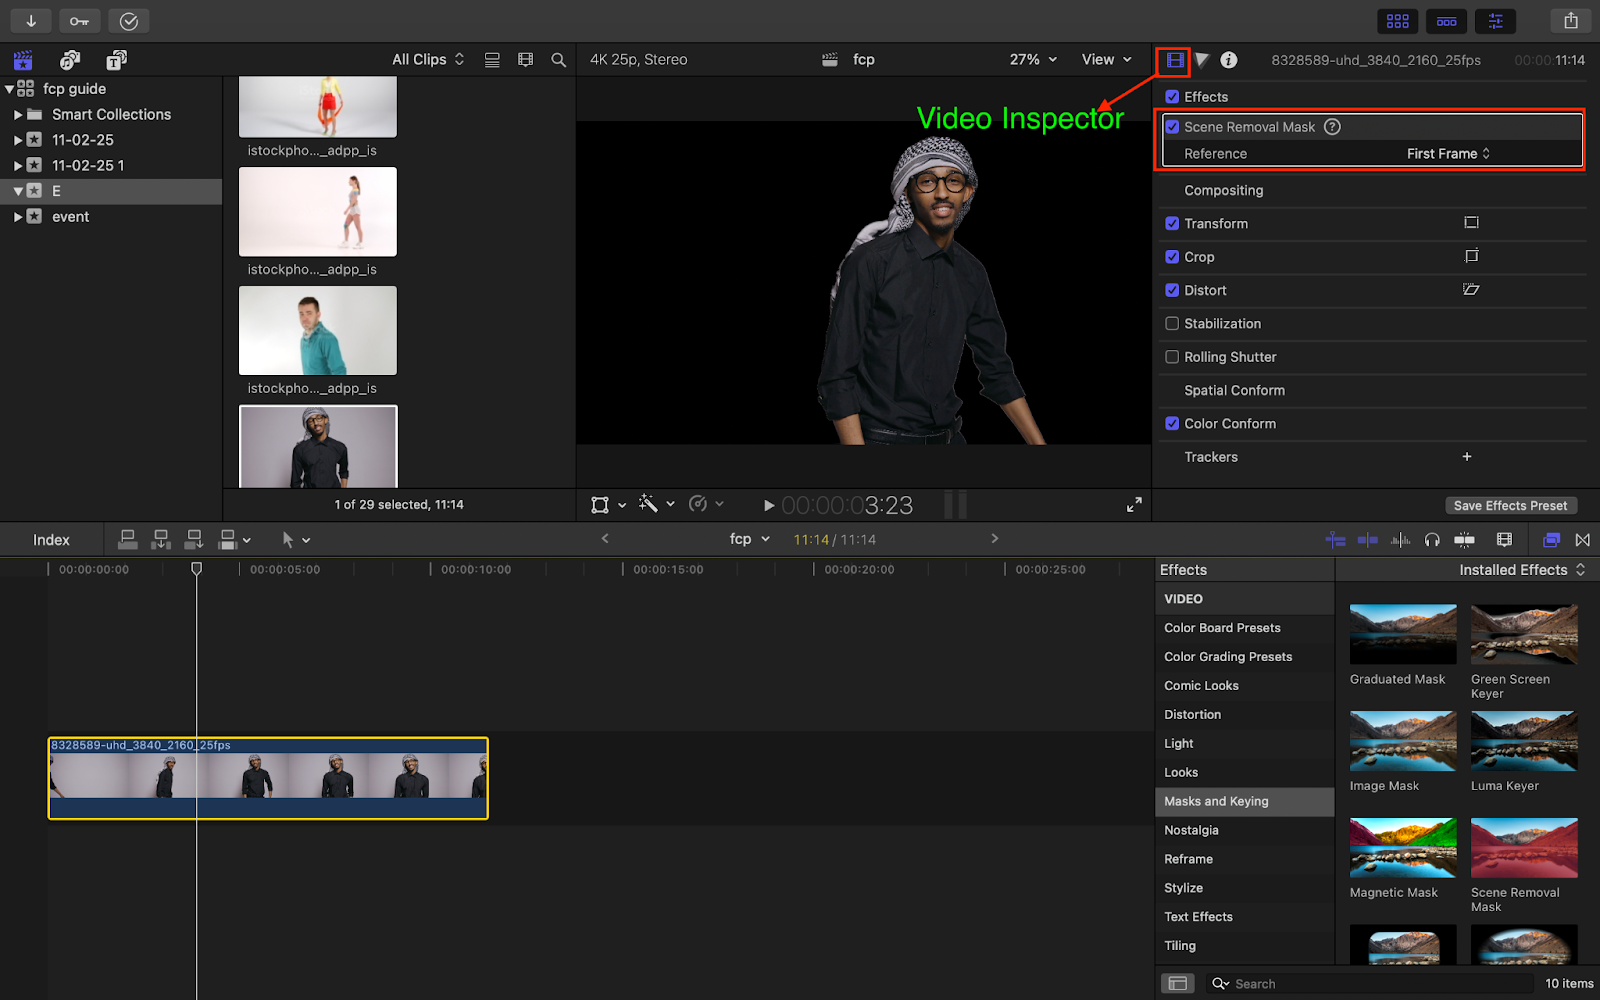
- Select “Scene Removal Mask,” and drag it to your clip on the timeline.
- You can see in the GIF above, that the “Scene Removal Mask” has been applied successfully to the clip and the background has been removed.
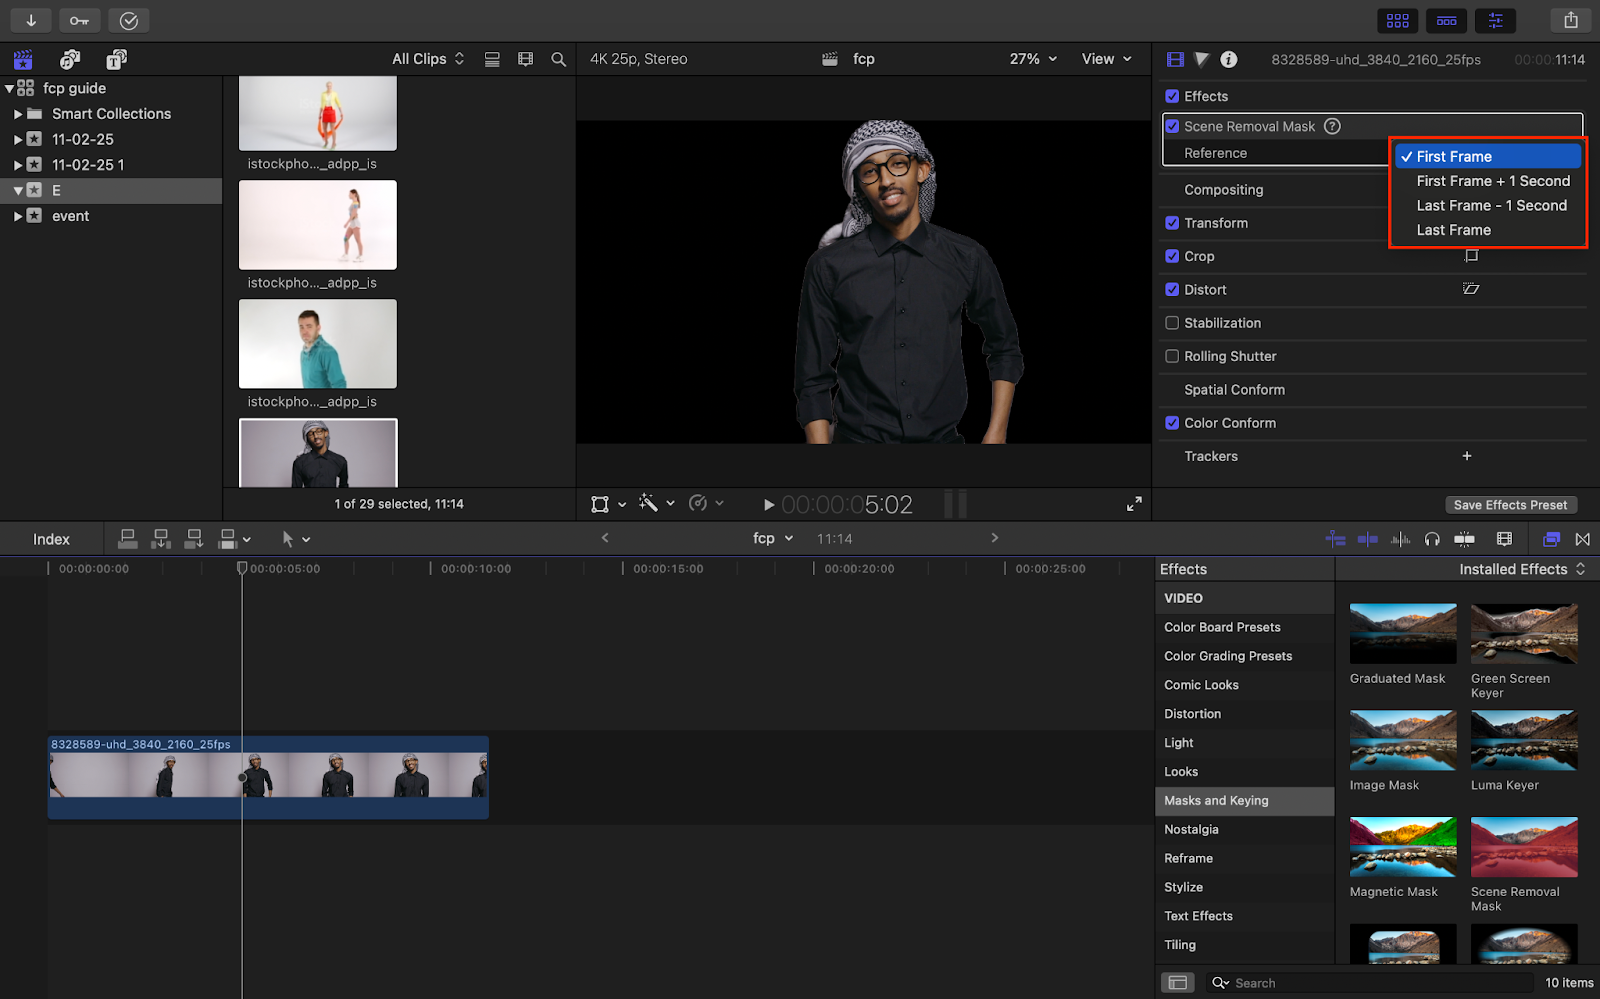
- In our sample clip, the “Reference” frame is present at the beginning of the video where we can see the whole background without the Subject. But in your video, this frame may be present in the end. So, you can change your “Reference” frame by going to – Video Inspector> Effects> Screen Removal Mask> Reference.
You can choose between the four options for your “Reference” frame as per requirement-
- First Frame
- First Frame + 1 Second
- Last Frame – 1 Second
- Last Frame
- After that, if you want to add a custom background under your clip then you can add it below the Primary Timeline.
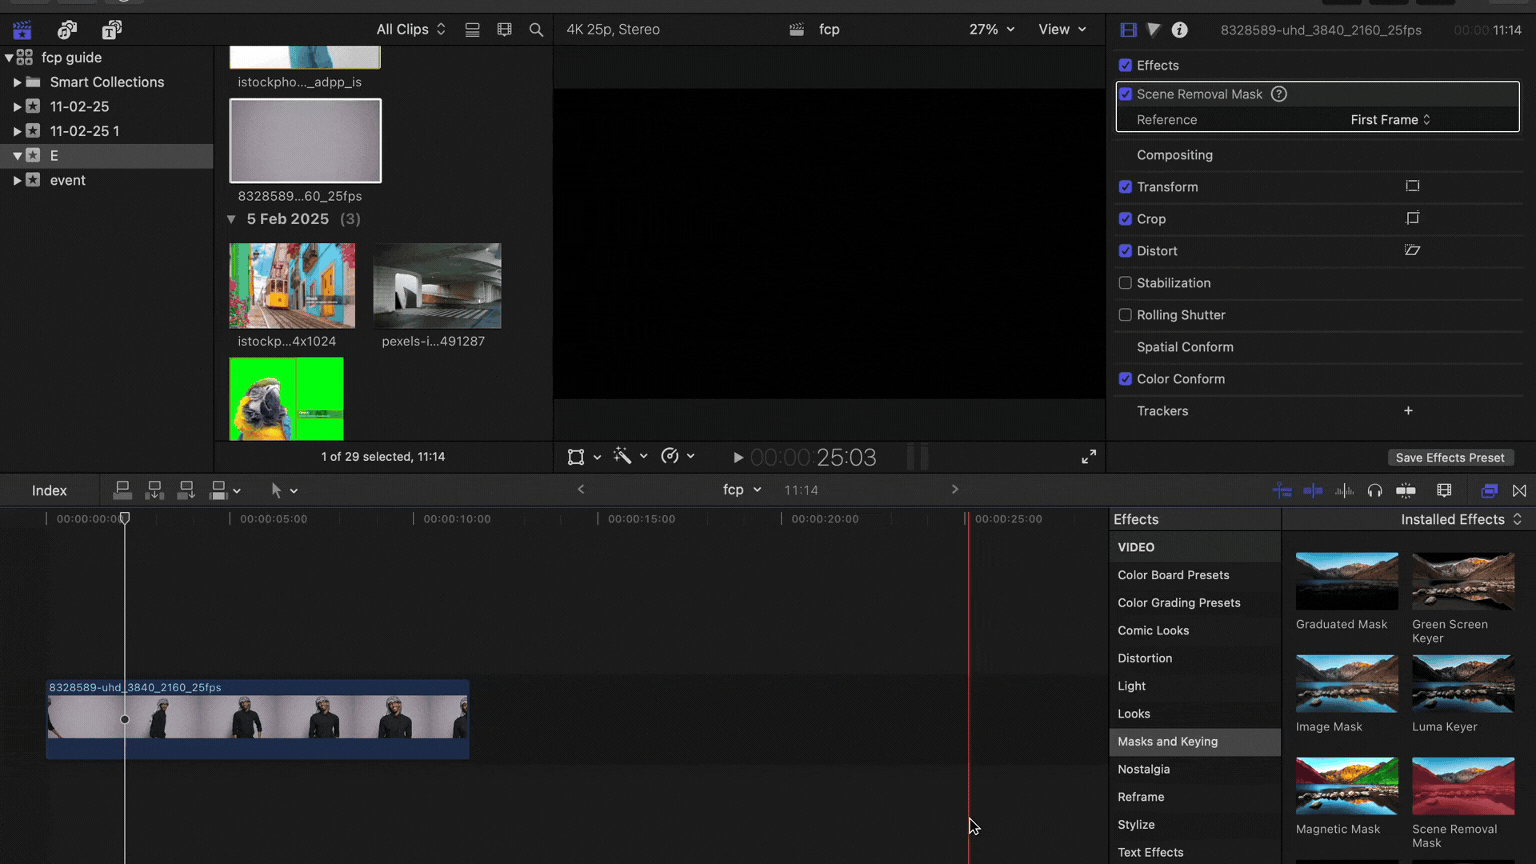
You can see that our background has been removed using the “Scene Removal Mask,” since we followed all the necessary requirements such as having “Reference Frame,” contrast between subject and background, an evenly lit environment, and a simple background without too many objects.
If we take a clip without a “Reference Frame” (without initial or final frame with background only) and complex background, the “Scene Removal Mask” may not work properly (as you can see in the GIF below).
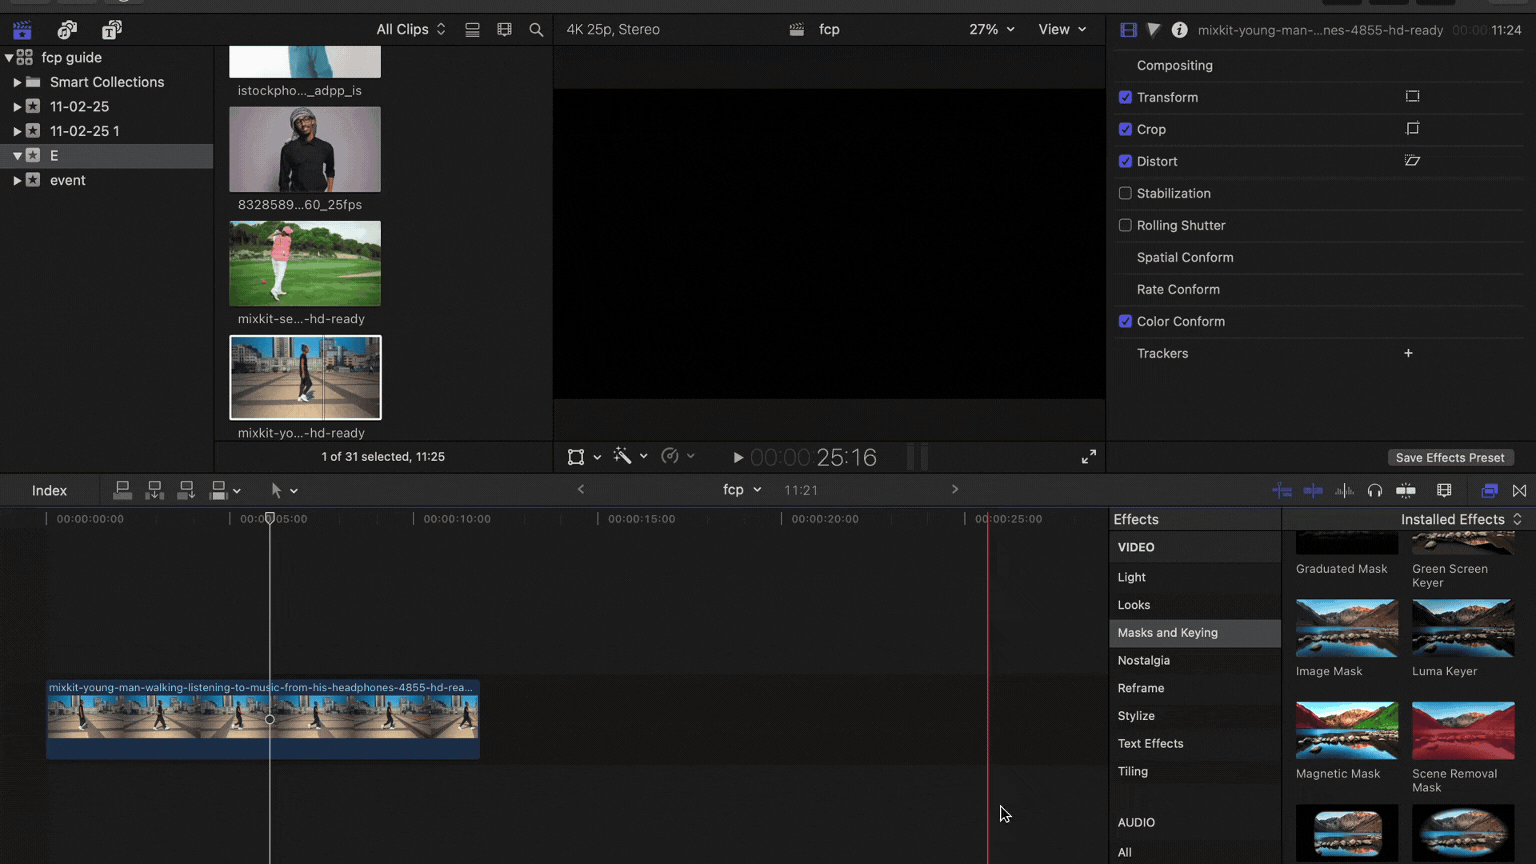
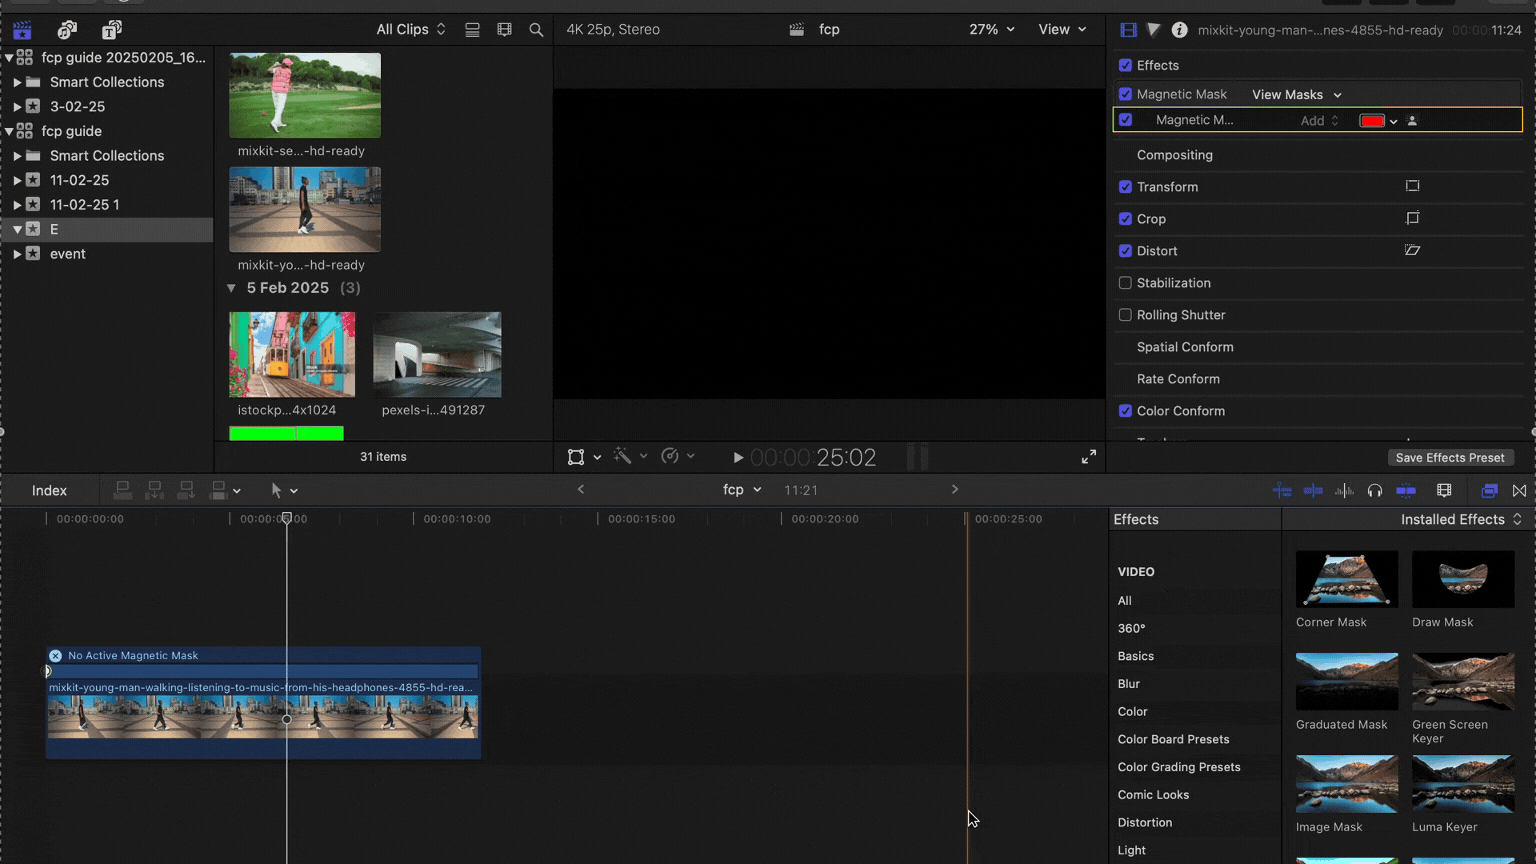
Remove Background in Final Cut Pro With Magnetic Mask
Magnetic Mask is an AI-enhanced feature of Final Cut Pro 11 that came with the recent updates. It uses machine learning analysis to isolate people and objects without a green screen. FCP tracks the subject’s movement and applies it to all the frames.
It is more accurate than the “Screen Removal Mask,” and it doesn’t have any Prerequisite requirements for shooting the video.
To use Magnetic Mask follow the given steps.
- Drag your clip to the timeline.
- Go to the “Effects Browser” present on the right side of the screen, just above the timeline.
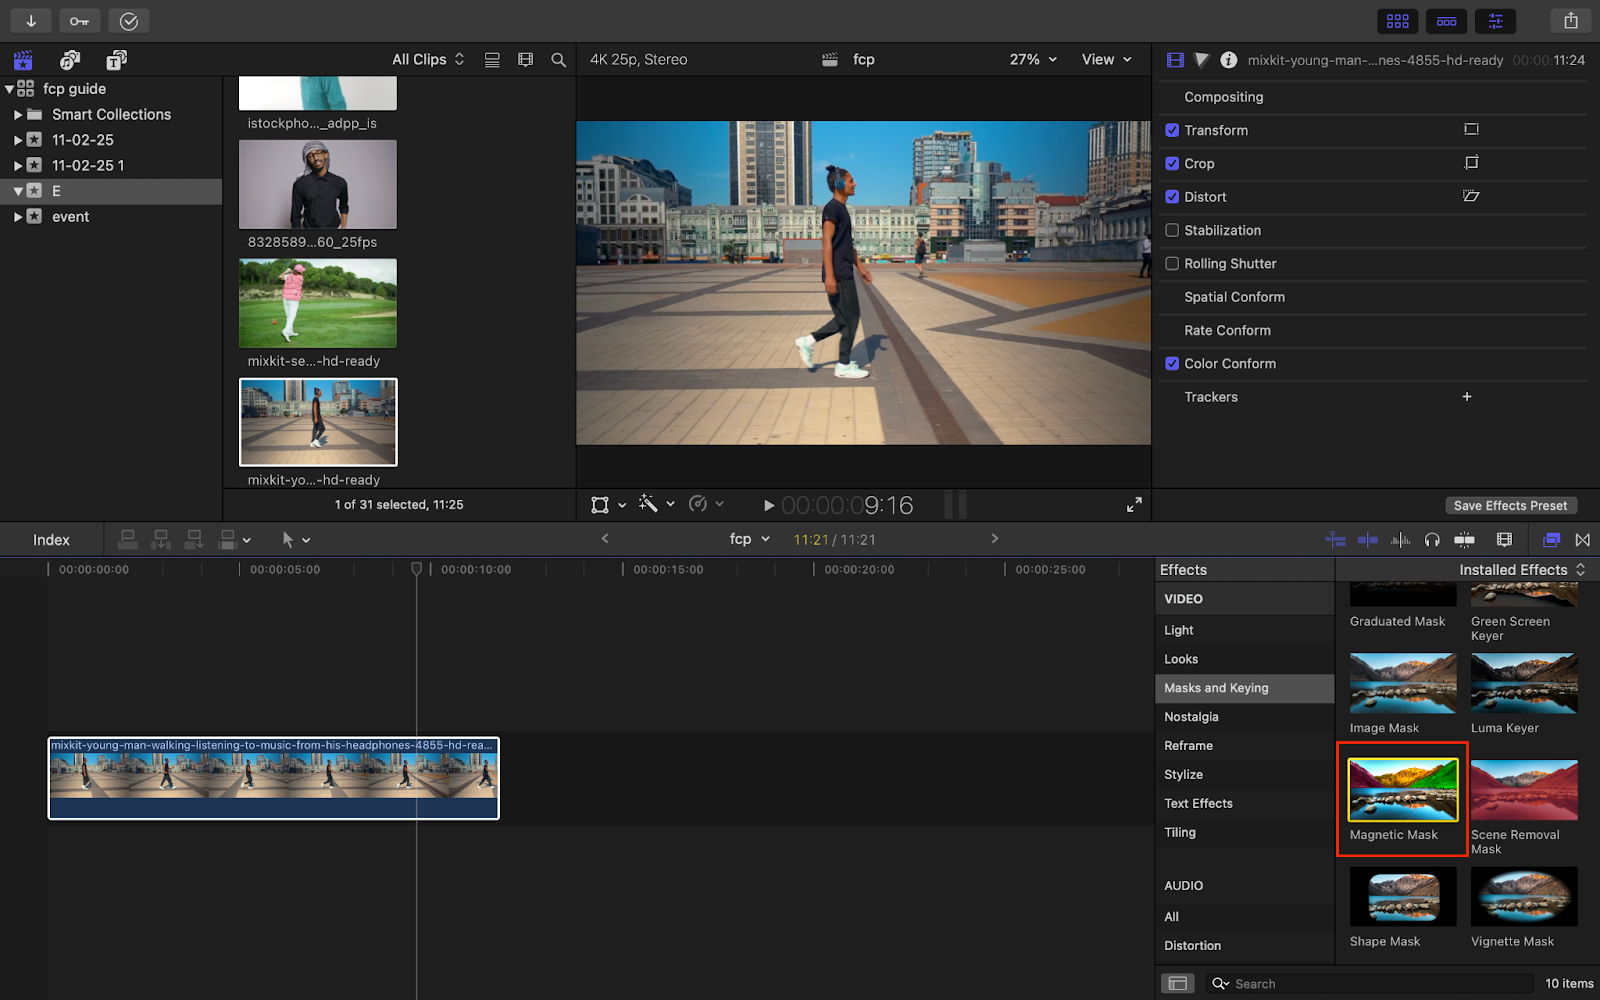
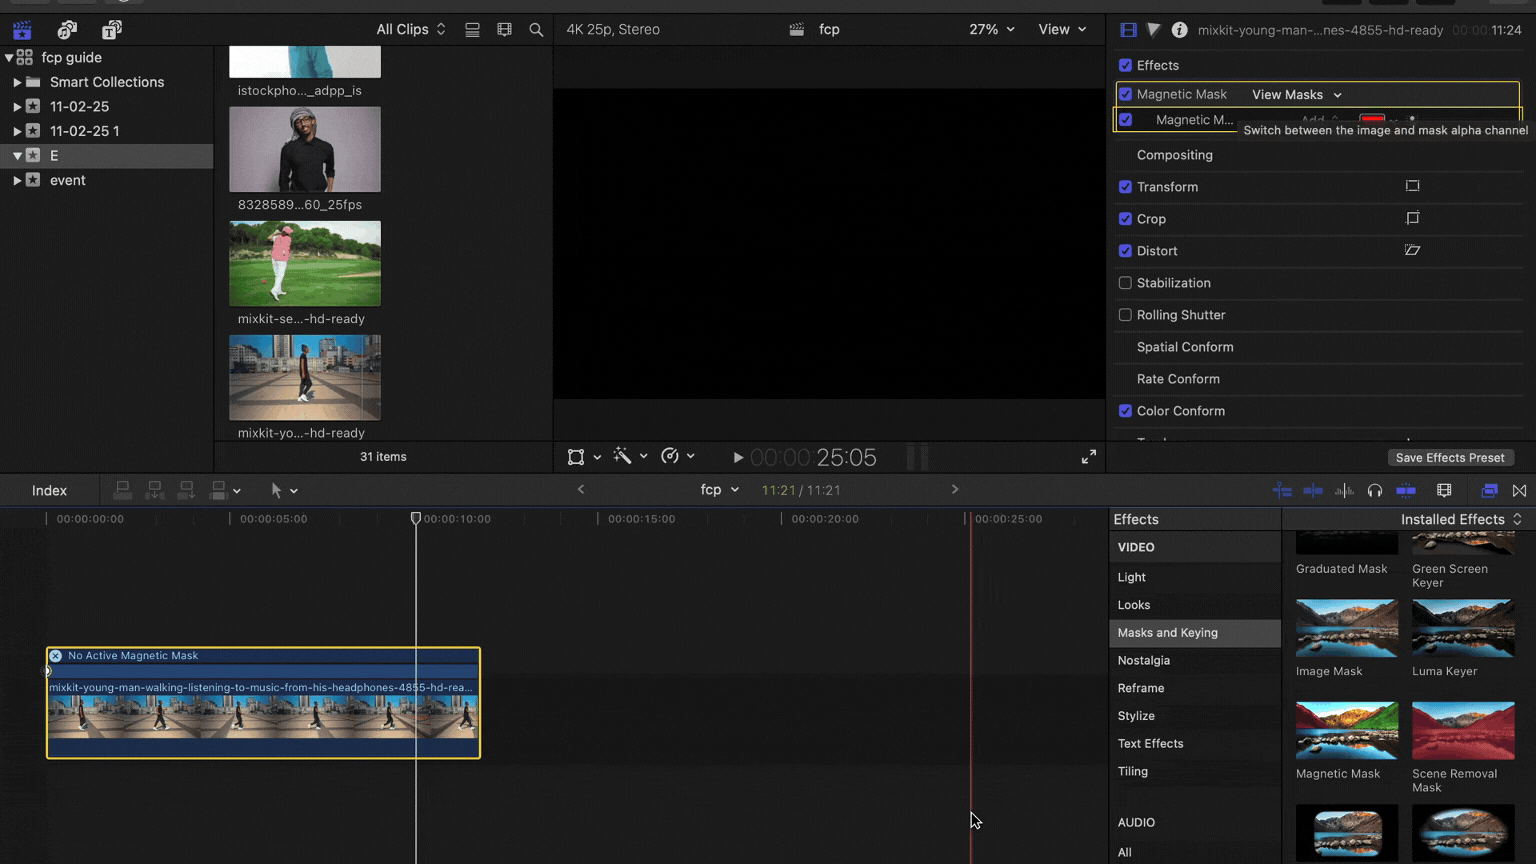
- Now open the “Mask and Keying.”
- After that, scroll in the “Mask and Keying” section and select the “Magnetic Mask.”
- Now drag the “Magnetic Mask” to the Viewer and select your subject in the viewer by putting your mask on it, as you can see in the GIF below.
- You can see the options for adjusting the mask in the Viewer. By default the pointer changes to Add eyedropper when we put the mask on the subject, to add the area in your mask. You can change it to Remove eyedropper by clicking on the “Remove” button to remove any area of your selection.
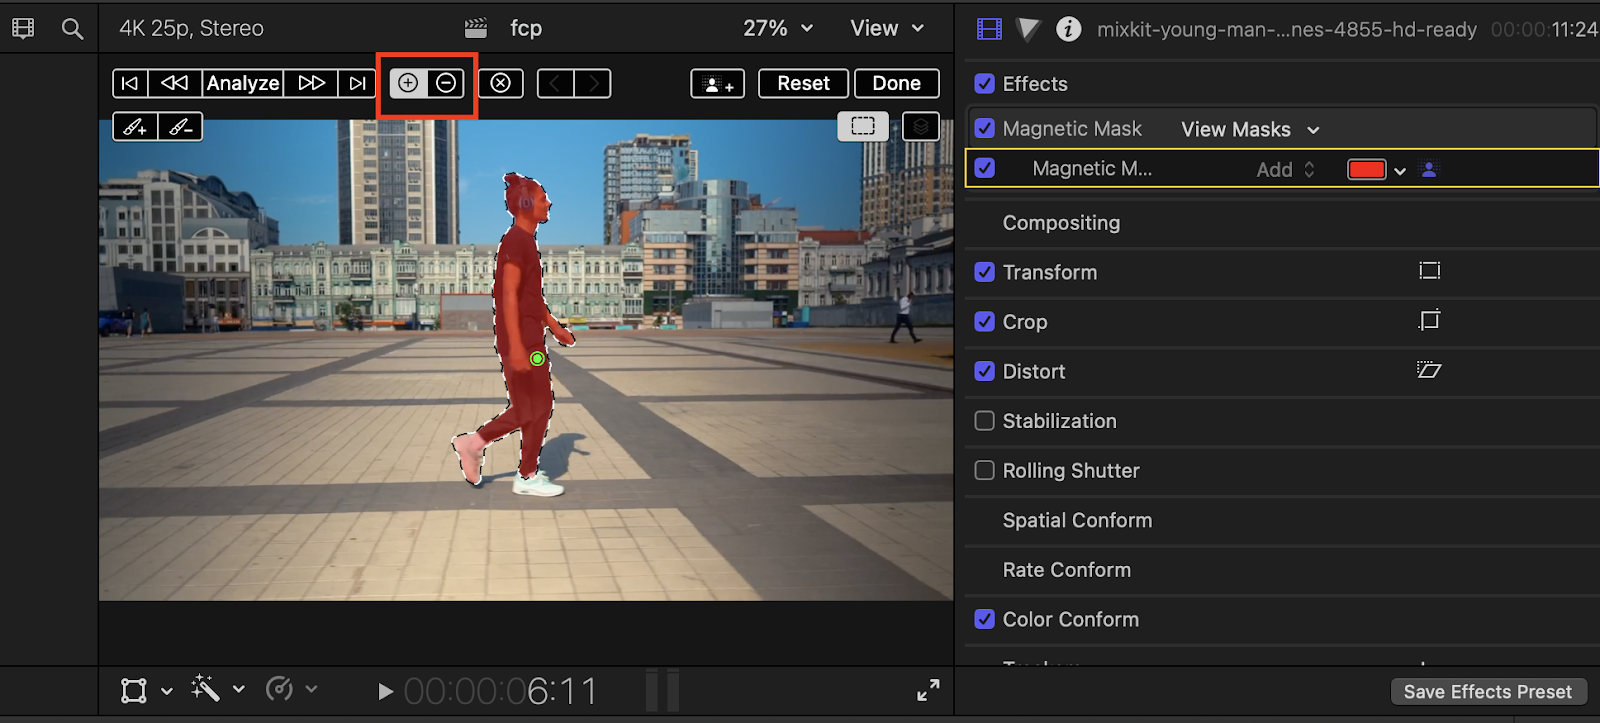
You can also use a brush to add or subtract things from your mask selection.

- Now click on the “Analyze” button and after that click on “Enable or disable on-screen controls,” via – Video Inspector> Effects> Magnetic Mask.
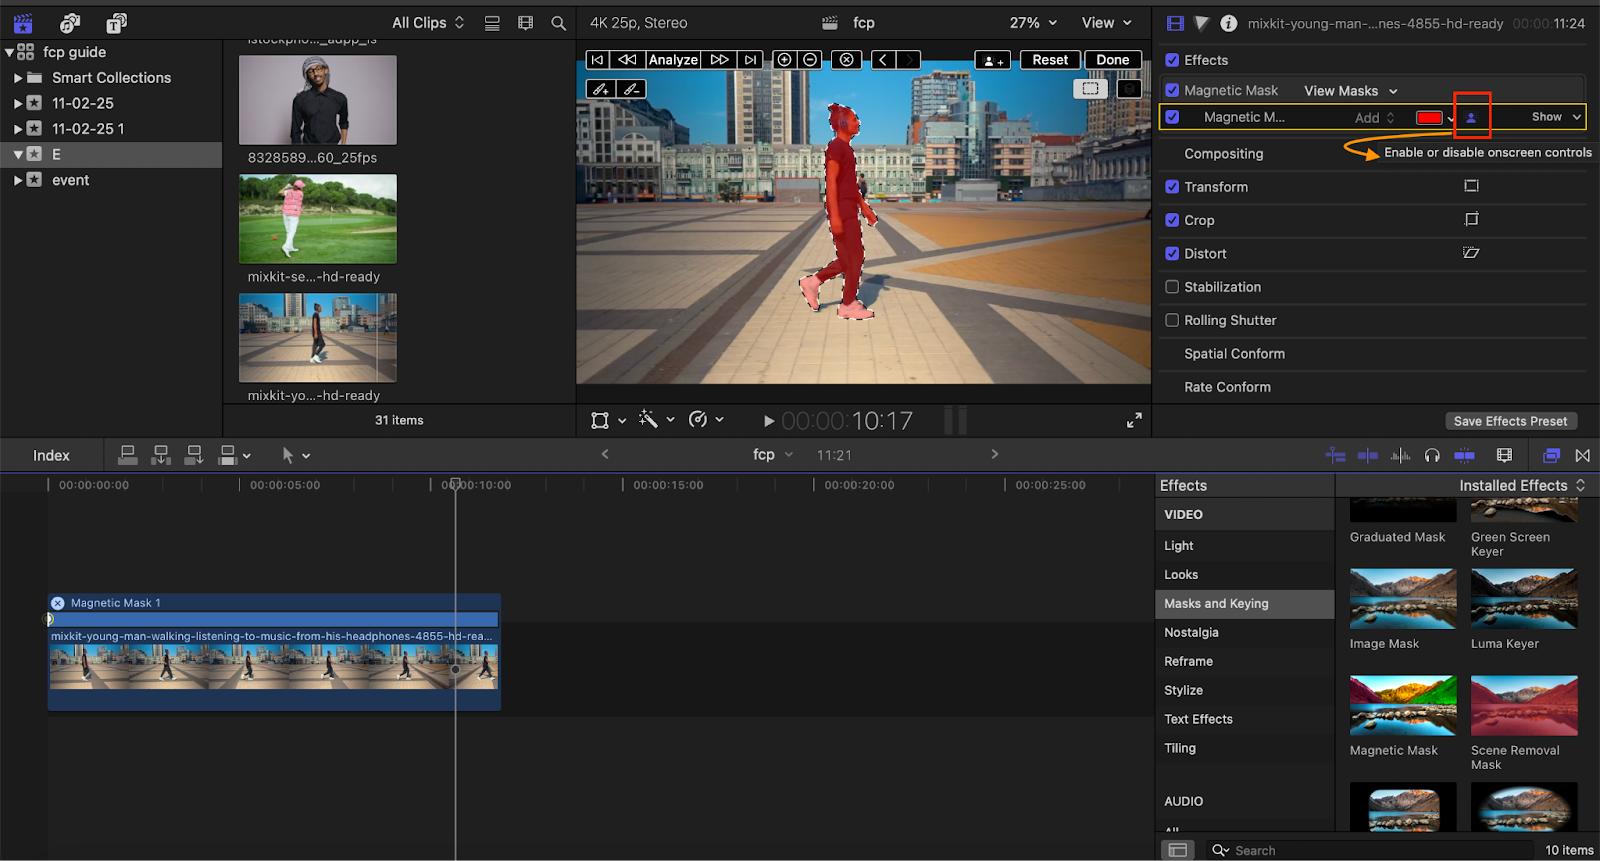

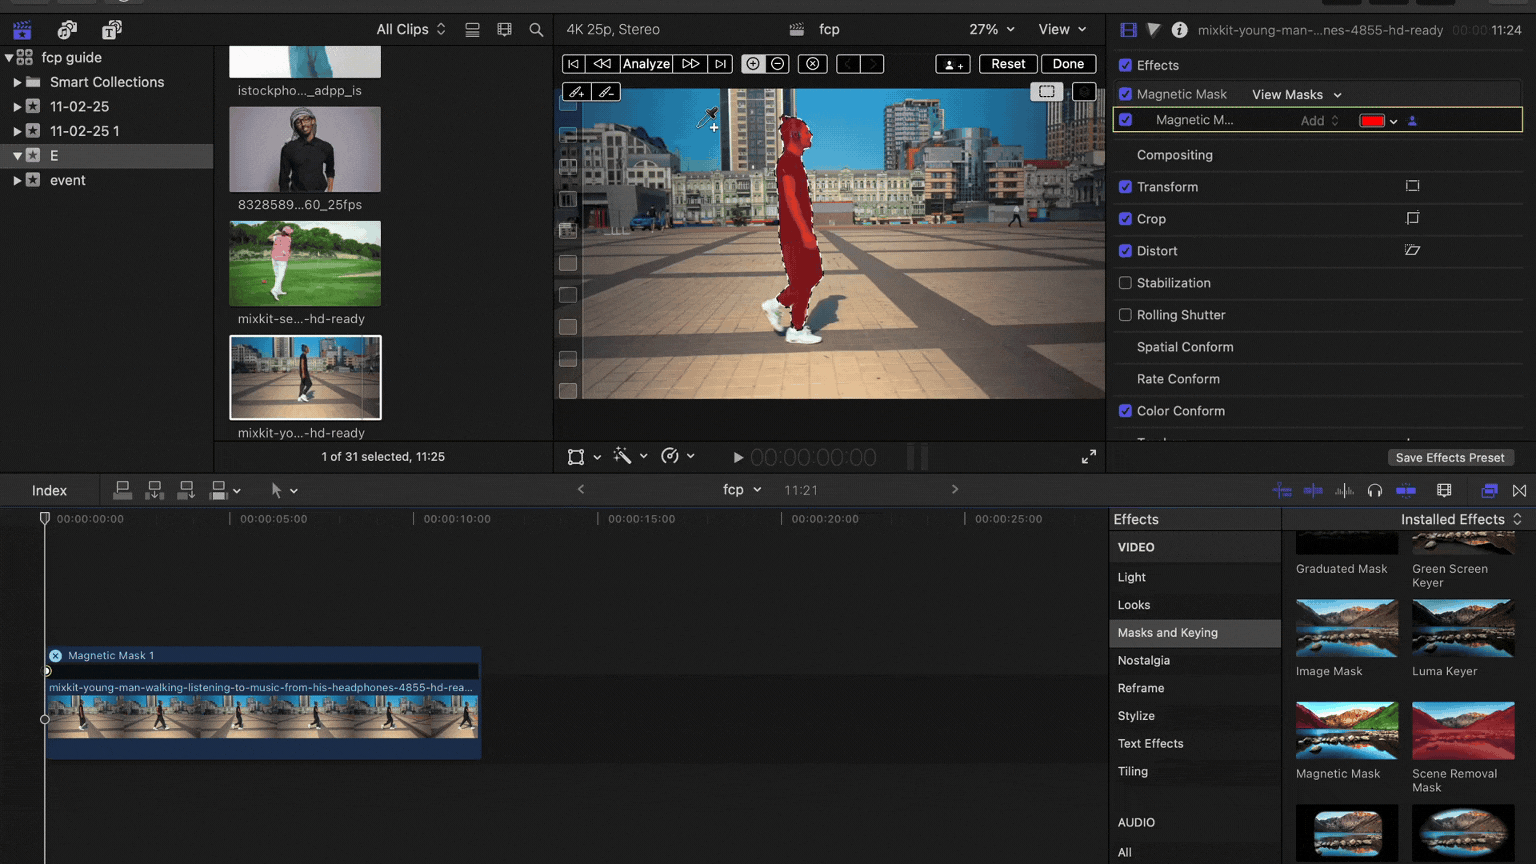
- Your background has been removed successfully.
- With the help of the “Feather” option in the Magnetic Mask, you can adjust the border of your masked subject.
- You can see your mask in the “View Mask” section with two different views – Black & White and Color.
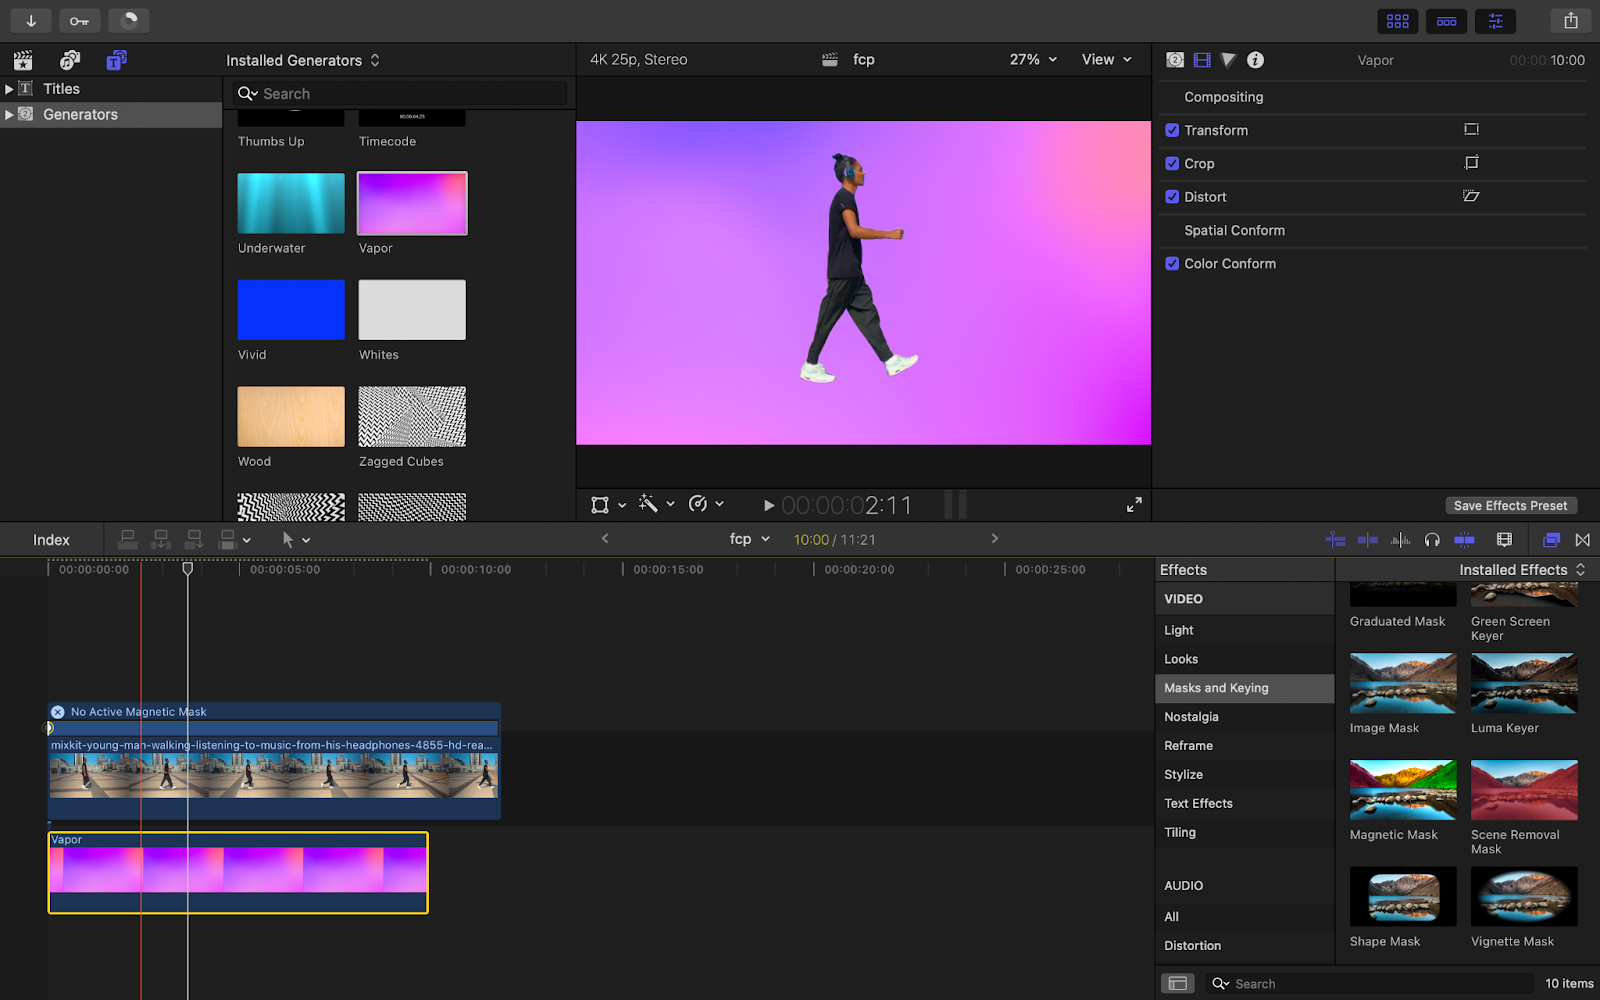
- To further customize your background, you can also add the background of your choice below the primary Timeline.
Magnetic Mask feature performs the best on Macs with Apple Silicon.
Remove Background in Final Cut Pro Using Third-Party Plugins
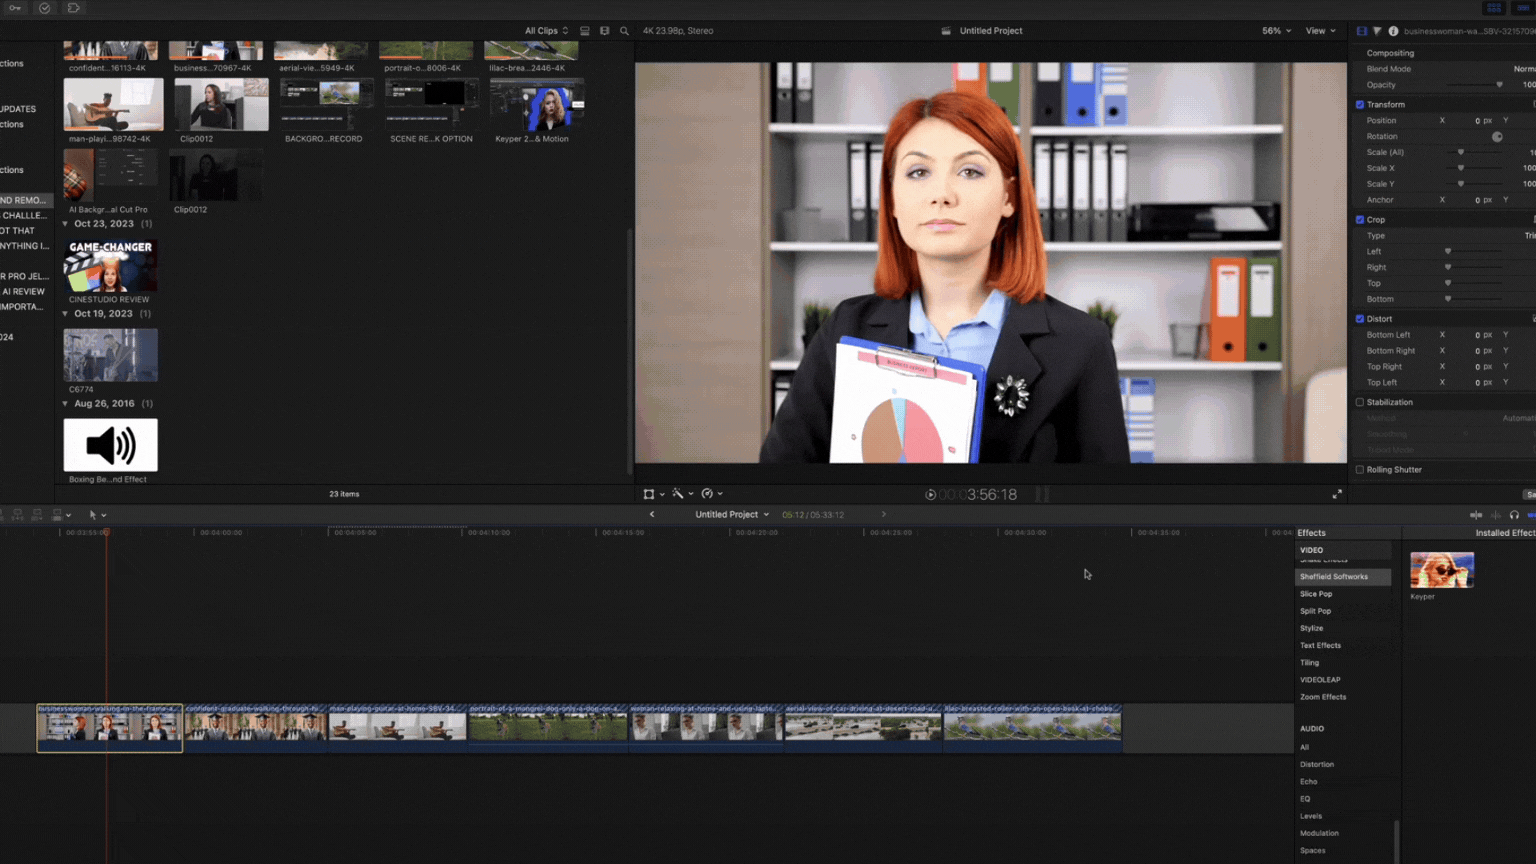
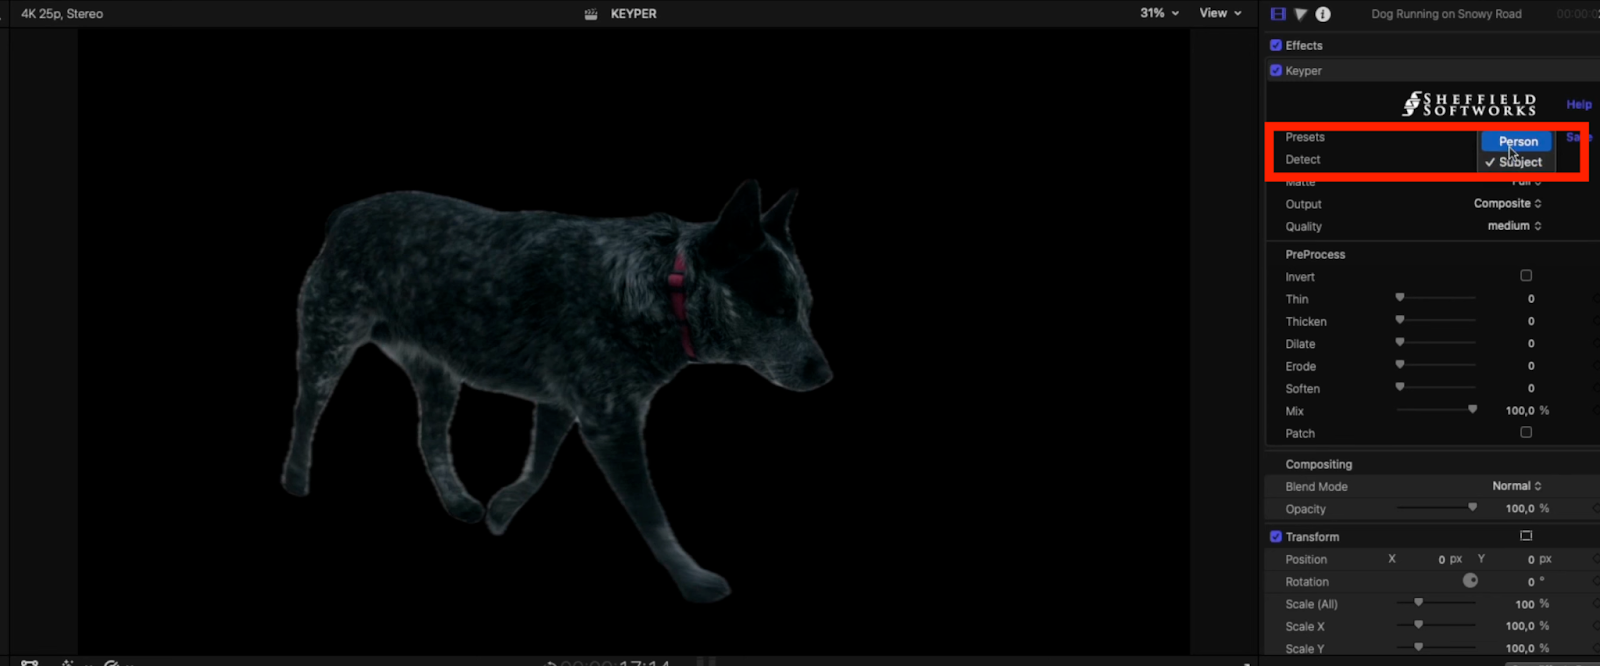
Third-party plugins also allow users to remove backgrounds from an FCP project while offering more flexibility and customization. You can use the “Keyper” plugin to remove the background in Final Cut Pro.
Keyper
You can buy this plugin from FxFactory. In the old version of Keyper, we could only separate out human beings from the background, but in the new version, you can remove the background of any subject.
Drag your desired effect on the timeline, and adjust it in – Video Inspector> Effects> Keyper.
You can use the “Detect” filter in effect’s settings to choose between a Person or Subject. If you want to remove a background object, other than human beings, then you have to choose “Subject” in the Detect option.
In this article, we discussed three different ways to remove background in Final Cut Pro without using a green screen, you can use any of them as per your convenience. Tell me in the comments section which method are you going to use? and you can also share new methods to remove background.
Happy editing 🙂